M4 BUILD PART 5 – FLOCKING AND FUELLING
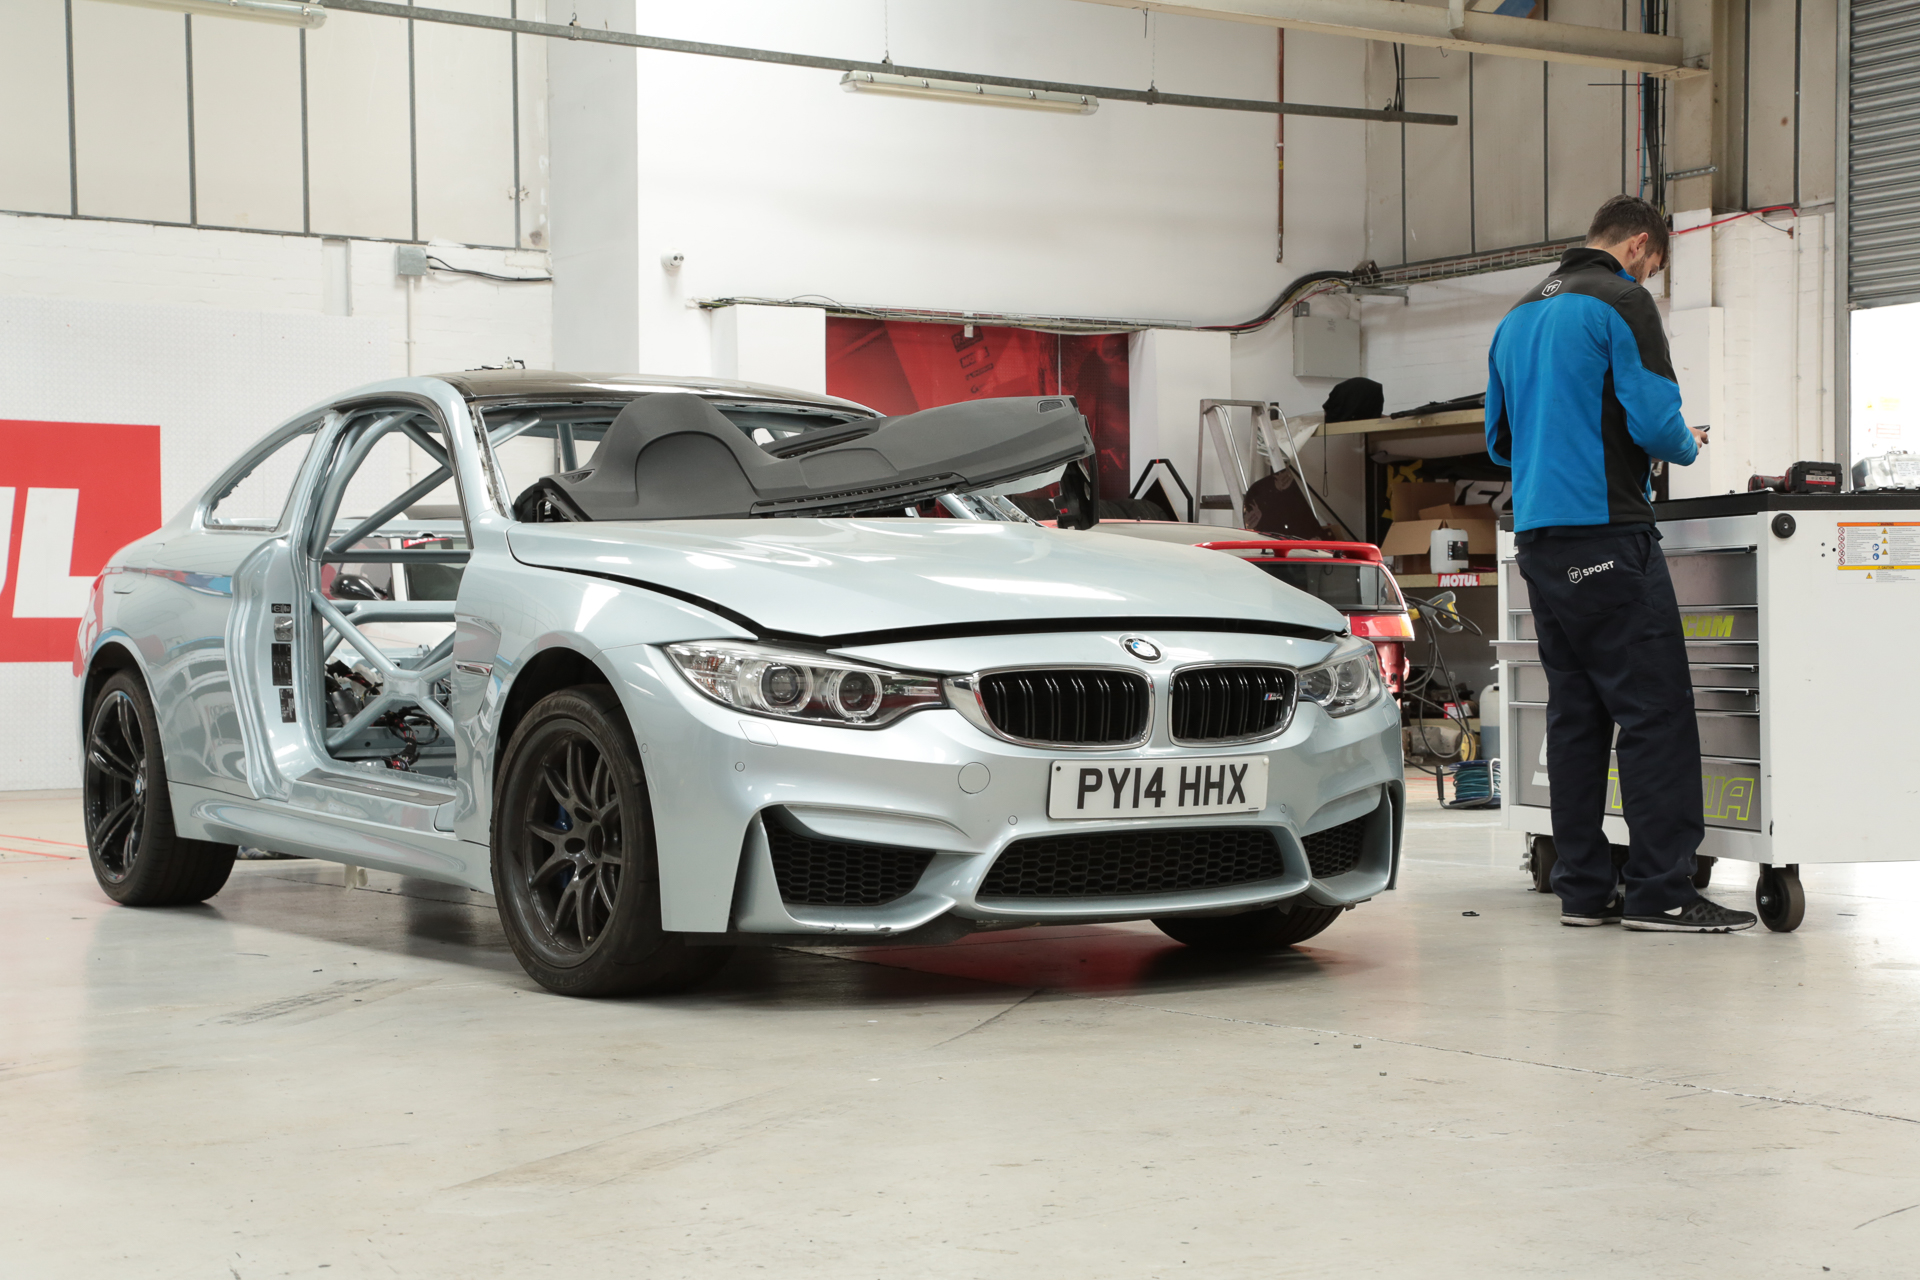
Winters rolling in big time here in the midlands, and whilst its not quite snowy, the workshop is definitely a coat zone now. Regardless work must press onwards, we’ve got parts back and bits to fit!
Dashboard glare, apart from being incredibly annoying, can be really dangerous. Picture yourself at motorway speed with the light above you, the reflection of the surface of a leather or plastic dash can be offsetting to the eyes and distract or dazzle the driver. Now imagine the same scenario but at on a track whilst your plummeting into a corner at a substantially higher speed – both scenes aren’t ideal at all and thankfully flocking solves this issue… or at least minimalises it.
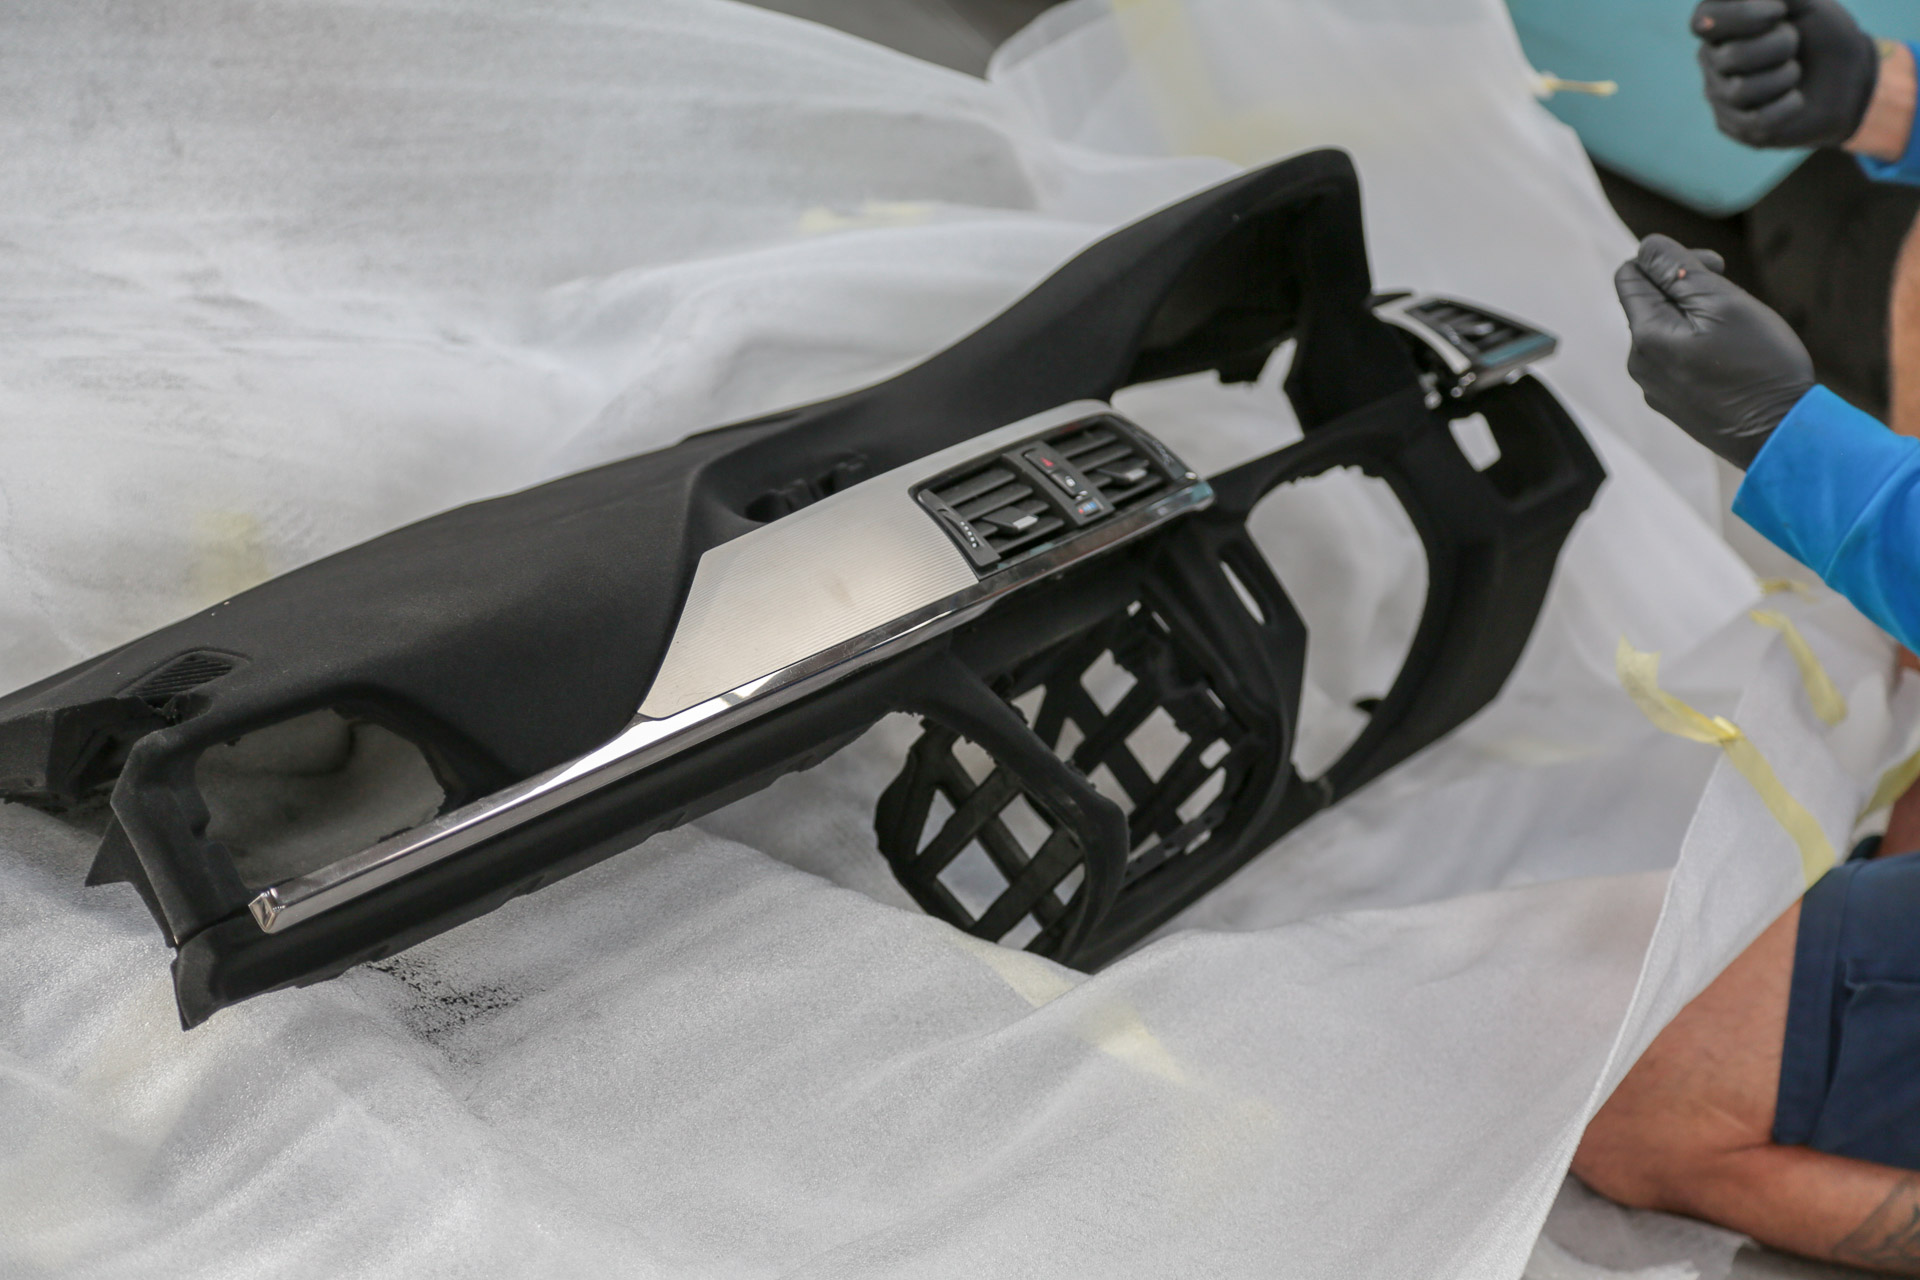 Our dash came back in record time, and the final finish was great. Letting us tick another job off the list, but we’re a way off yet. This piece can’t be fitted just yet, as we’ve got plenty to do on the inside before we can even think of fitting it for the last time – so for now it’s something nice for us too look at at least.

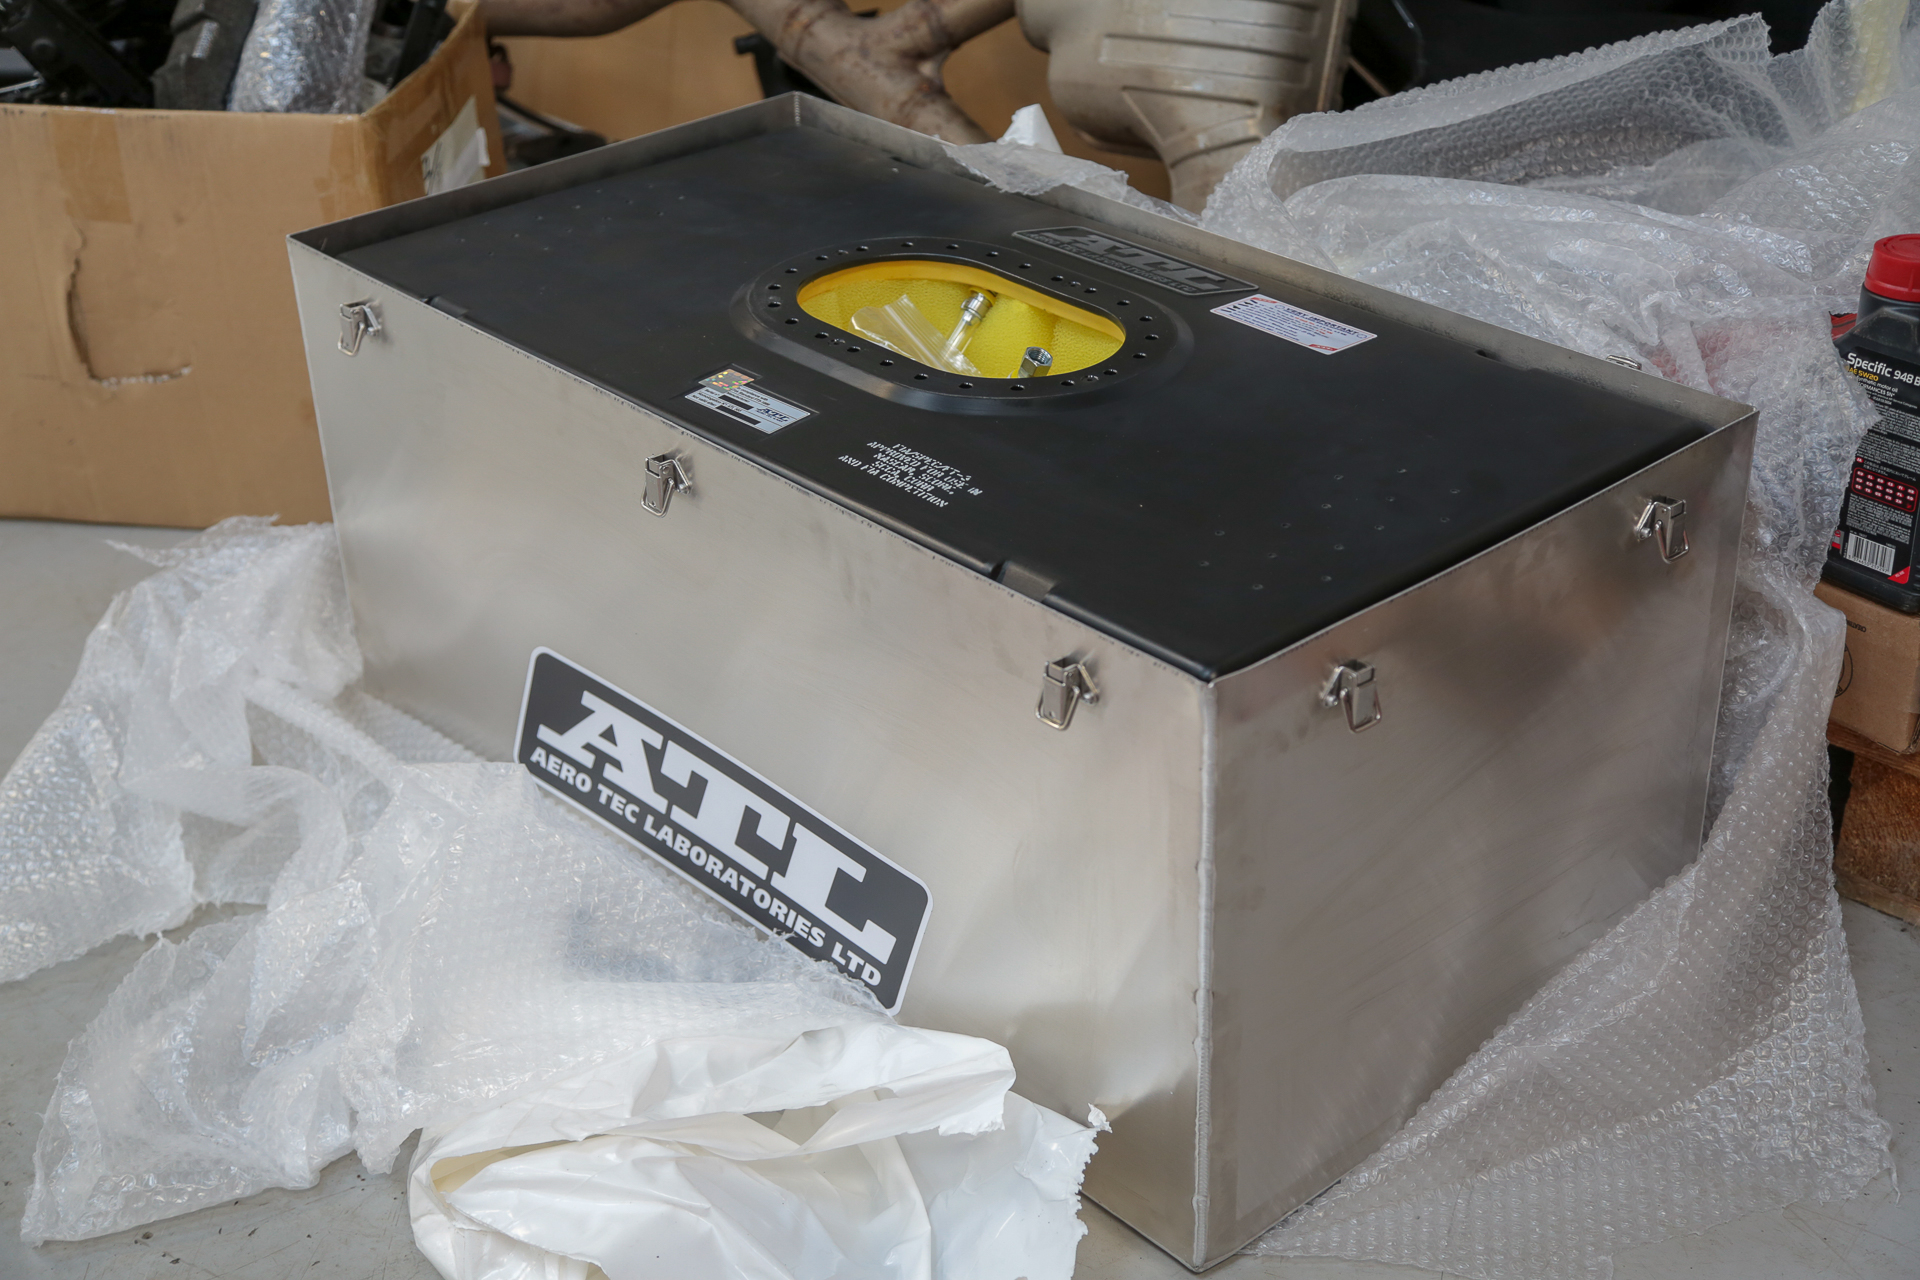
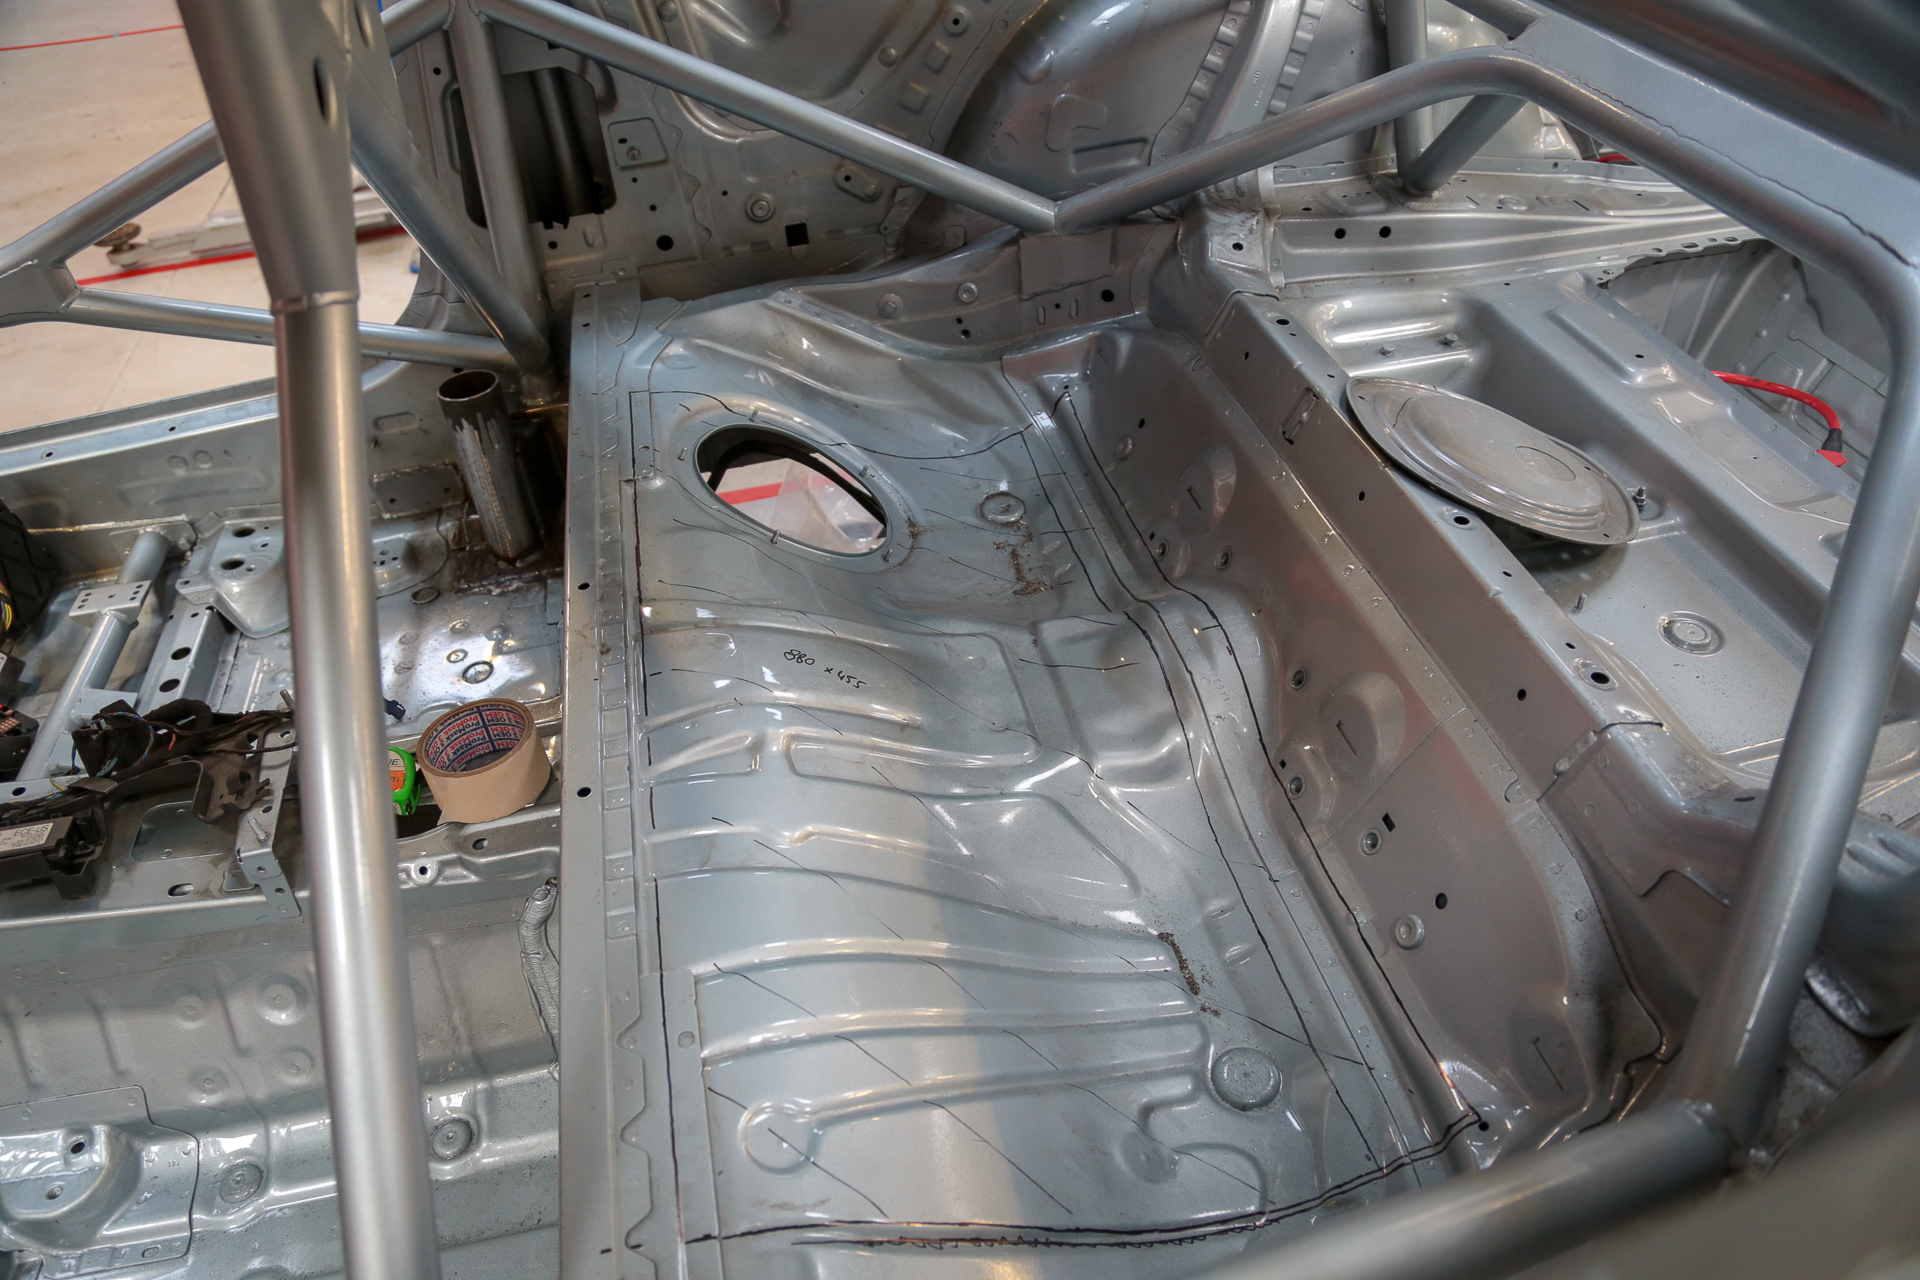
On to fuel, where it goes specifically, Club Enduro abides by MSA safety regulations – leaving where and how you place your tank to be a crucial part of whether you are competing in a weekend or not. Understandably so as fuel isn’t not something to be messed around with.
This lead to a mild issue, it would have been a bit more ideal doing this prior to the car going to the guys at Safety Devices as there isn’t much in the way of real-estate where we planned to have the tank go. No love lost though, just a problem to find a solution too, and since then a nice spot has been found for the tank. So out came the grinder and it was once again time to get viscous on the M4.

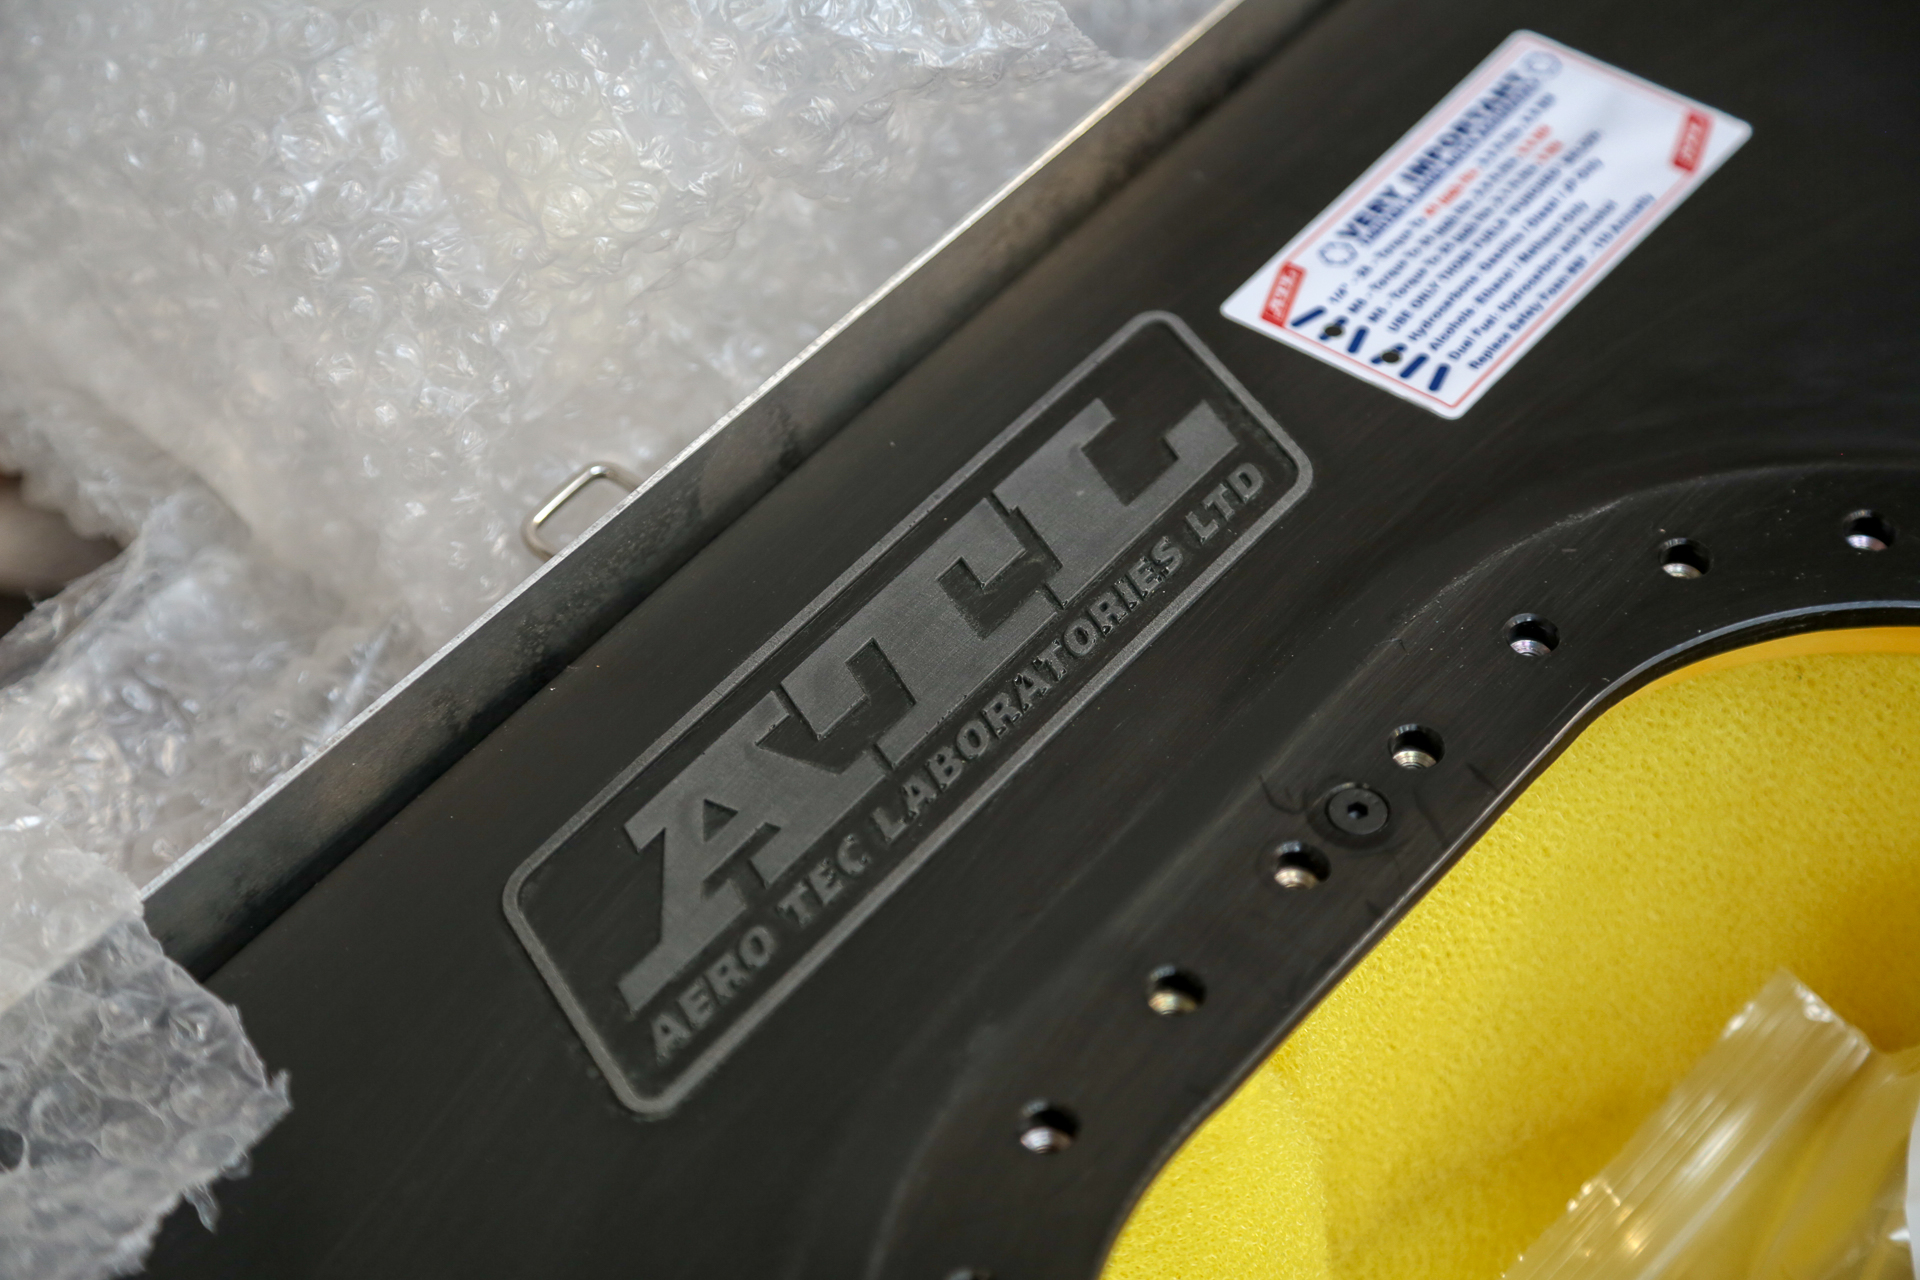
We’ve got this great tank from Aero Tech Laboratories, which’ll be fully compliant with MSA regs so long as it’s fitted correctly. It has a 120L capacity, plenty for endurance application, and when coupled with the ATL duel dry break valve – will be a quick and efficient way of fuelling on race days.
With a template measured out the time came to cut, but leaving it an exposed hole in the shell is a rather big no, no in terms of safety and in structural stability. This also isn’t where the tank will sit as such, its more to create an elevated platform for the tank to sit snug on while being fixed to the car.

As you can see above some skirting has been welded in around the edges of the hole, elevated at the sides for additional stability. Tabs were then welded in towards the back to mount the aluminium container on – then the fuel bladder itself sits inside of that.
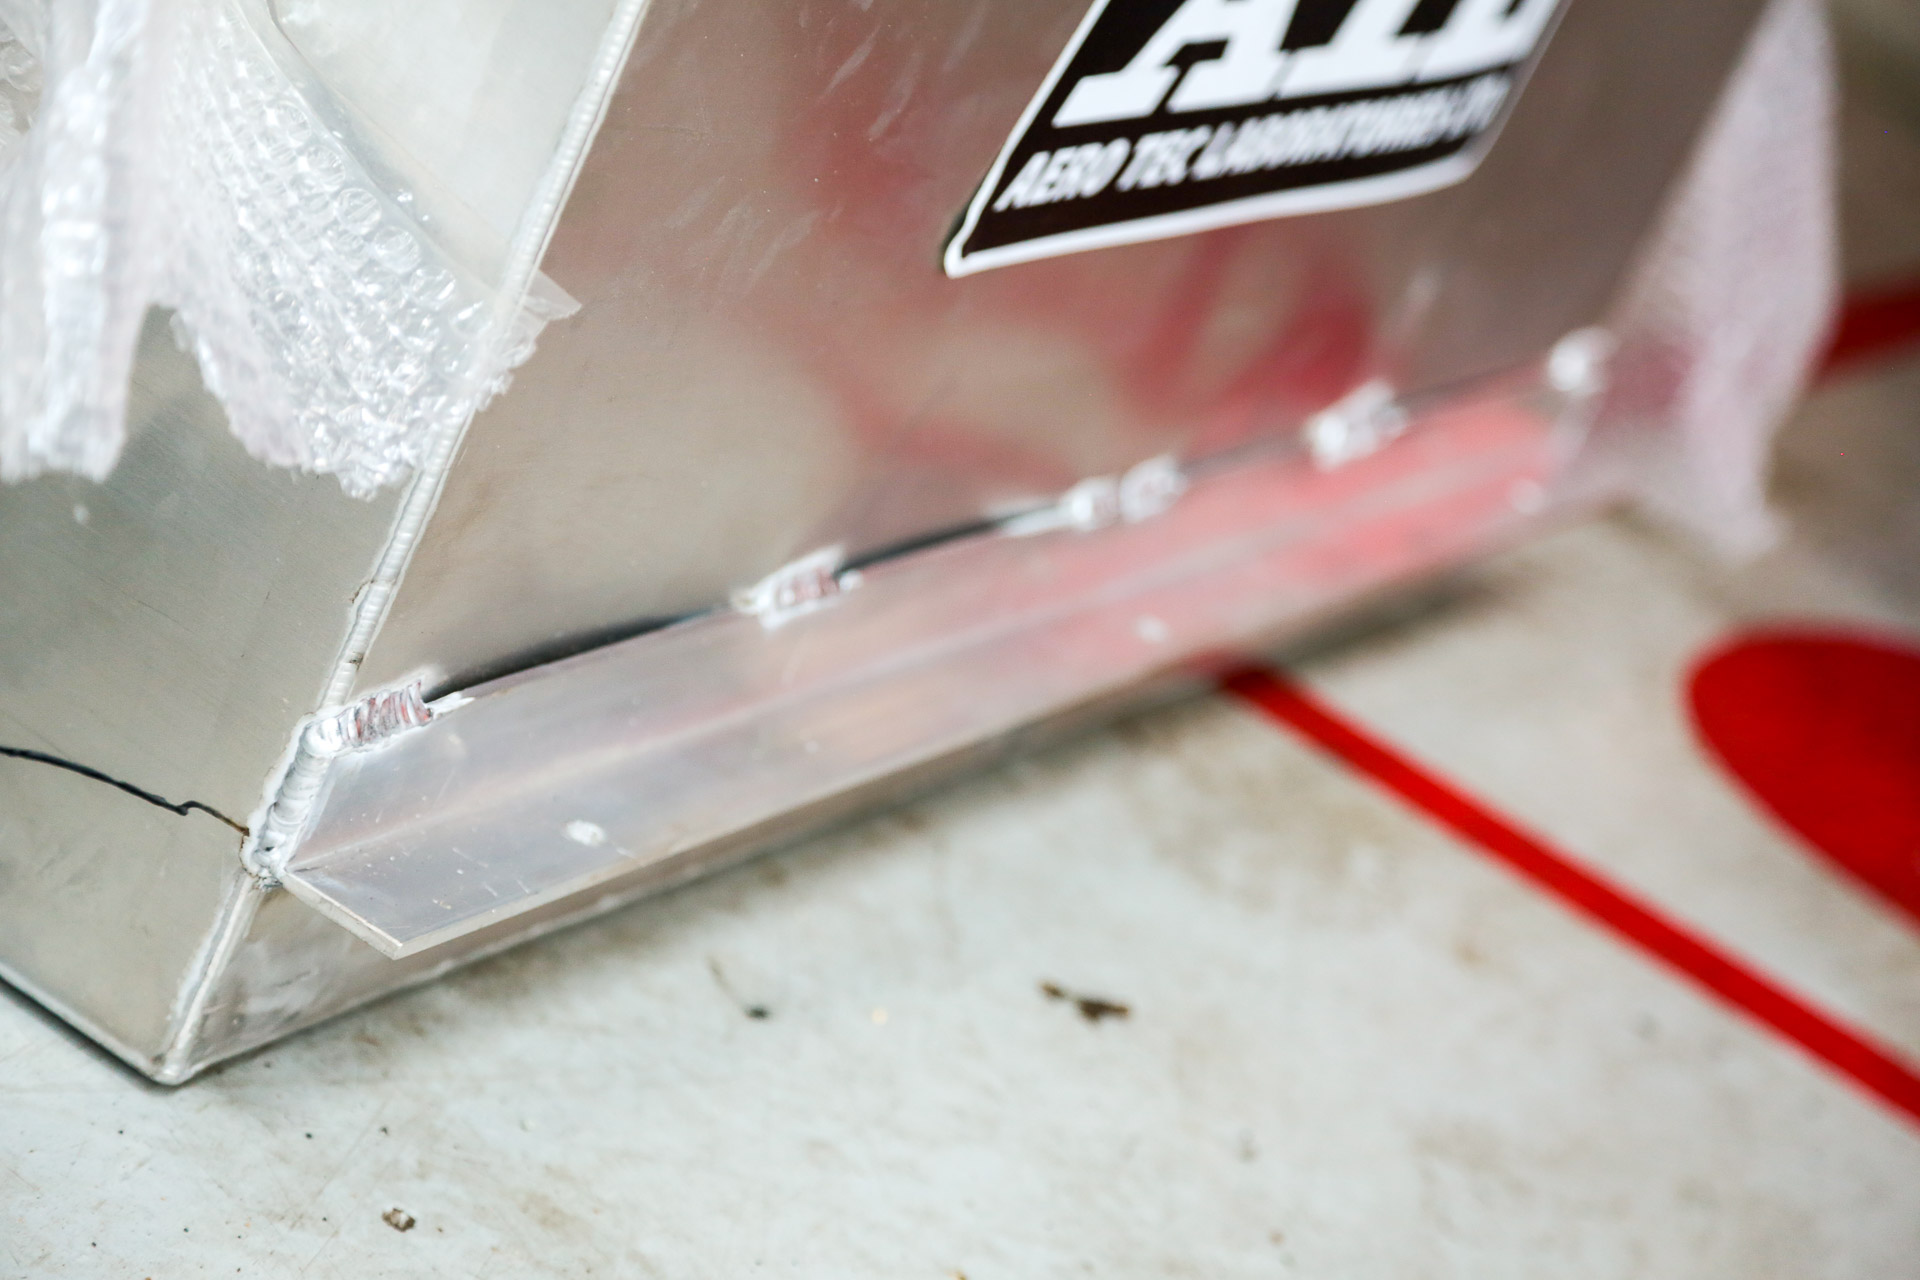
Complementary mounting points have been welded onto the tank box to get it planted firmly within the car, further insuring it isn’t going anywhere. Our attention is now moving to the front end, despite it sounding like a big job, the engine is coming out. Various parts are being stripped to save weight, like sound deadening, also giving us a chance to learn a bit more about what makes this car tick.